
Intro
I’m venturing outside my usual writing territory today, but occasionally it’s fun to hop outside the world of infrastructure. My recent deep dive into AI has sparked an idea, gamers like myself might find this information surprisingly useful! I recently built my dream gaming rig, now I can finally play top-tier games at maximum settings with high frame rates. But what I didn’t expect was to spend most of my time running local AI models on my old machine. This post offers something for everyone, feel free to jump straight to the new rig build or dive into the AI section further down, it’s your call!
The New Gaming Rig Build
If you’re interested in my new build selection, it’s relatively in line with most premium builds out there. It’s not a cheap build by any stretch, but I managed to avoid most of the RAM price increases because I bought these components back in November 2025. A big thank you to my wife for agreeing to not look at our credit card statements this time, it’s probably the first time I’ve asked for a pass (and it may be the last if she does her homework). The build revolves largely around Lian Li components. I had previously built my system with Corsair components and mostly loved their stuff. But Lian Li had a couple of innovative things I really wanted to take advantage of. It’s worth noting that Corsair has matched a couple of these, but Lian Li had the ecosystem I wanted. A fuller BOM will be listed after this, but for a high-level overview:
- LCD Fans: Let’s be honest, who doesn’t love some extra flair with moving GIFs on their fans? My favorite displays right now are GIFs I created from my blog posts.
- Dual Chamber chassis with easy to access PSU: My old case made accessing the power supply cables at the bottom a bit tricky. The new case I have in conjunction with the Edge PSU makes access to power for new components much easier.
- BIOS Readout: I wanted to get a higher-tier motherboard that was sturdy, had extra storage space, and a BIOS readout I’ve never had before.
As for the full BOM, I’ve listed it below. I understand my privilege as this is not a cheap build. That’s the beauty of PC building, you get to decide where your budget goes. My goal was not to hold back like I have done on previous builds.
| Core Components | Brand | Model |
|---|---|---|
| Case | Lian Li | O11D EVO RGB E ATX Gaming Case |
| CPU | AMD | Ryzen 9 9950X3D |
| GPU | Asus | ROG Astral RTX 5090 OC |
| Memory | Kingston | DDR5 2x32GB 6400 MT/s |
| Mother Board | Gigabyte | X870 AORUS Elite |
| Fans | Lian Li | 6x UNI Fan TL Wireless, 4x |
| Power Supply | Lian Li | EDGE1200W Modular PSU Gold |
| CPU Cooler | Lian Li | Hyderoshift II 360 TL ARGB w/ LCD |
| Storage | Samsung | 2x 2 TB 990 NVMe PCIe 4 1x 2TB 9100 PCIe 5 |
Some notable things stood out about building this PC. The case space was generous, lots of Velcro to strap cables down, and ample space to thread cables through. In hindsight, I wish I had moved the motherboard mounting brackets down to create a little more room at the top for the radiator and fan combination. While reviewing my components one day, I realized the Samsung 990s were PCIe 4 drives. I hadn’t investigated these closely enough but decided to order a PCIe 5 model, the 9100, which offers more capacity than I think I’ll ever need.
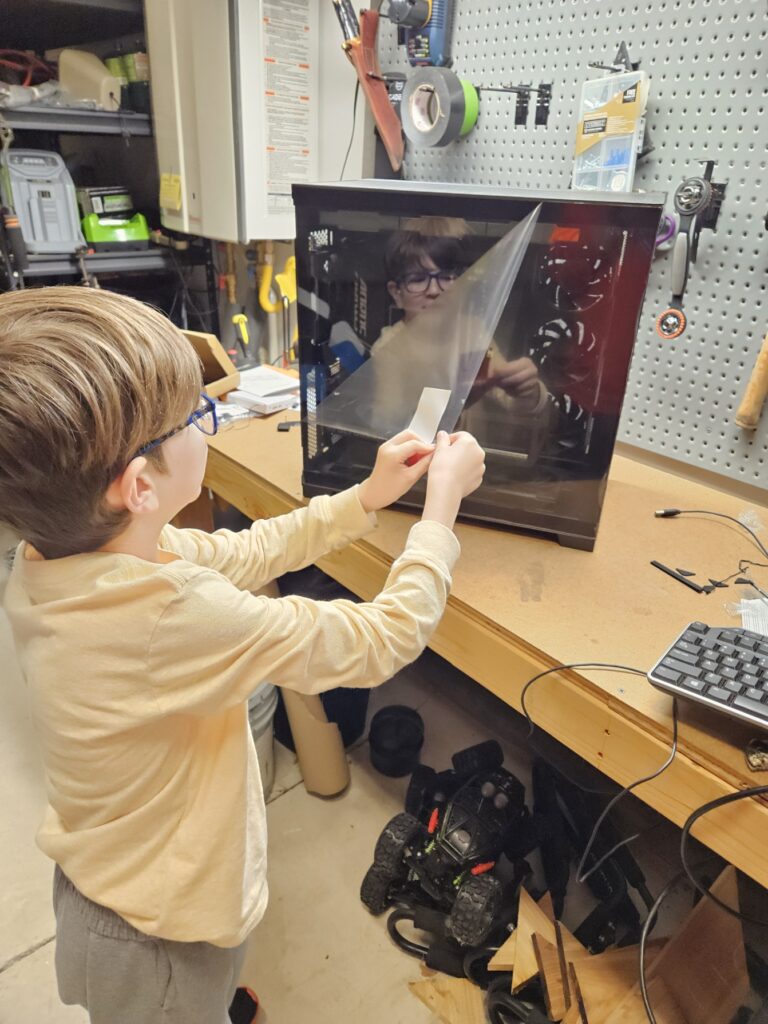
Another fun part was sharing the experience with my 8-year-old. Even though I may have been sweating when I let him hold the most expensive component of the build, I told him that he would be going to an orphanage if he dropped this!
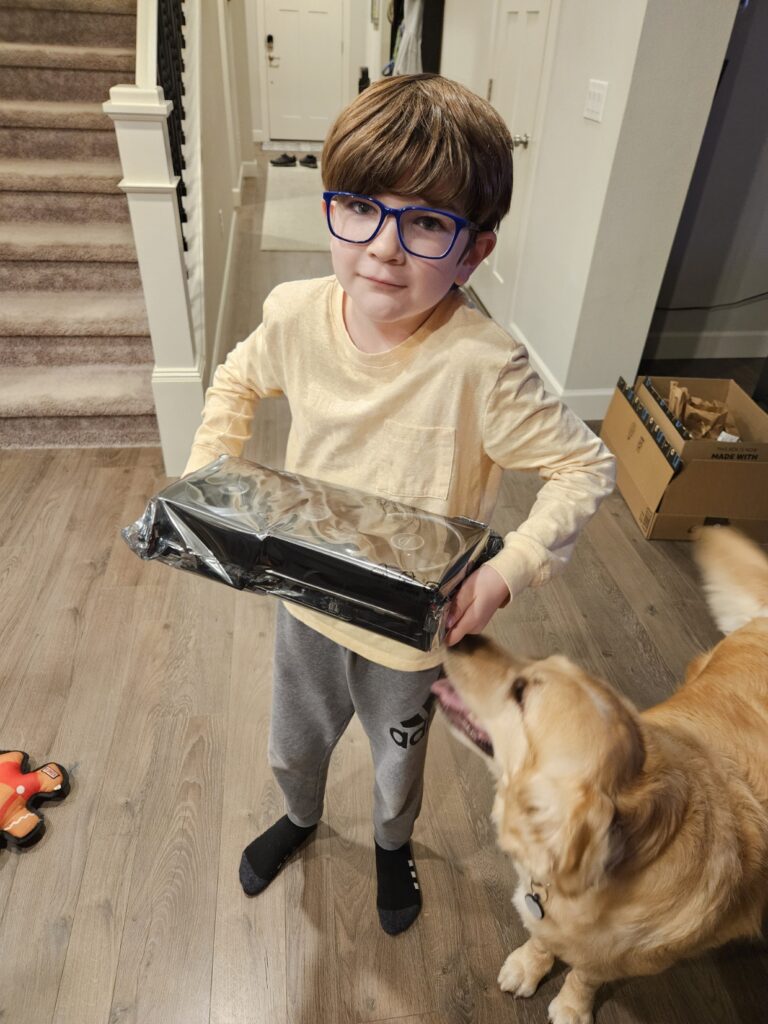
He had no idea what was going on but got to do the honor of peeling off the protective lining in the final stage. To him, he still thinks the “computer” is the monitor and the desktop is some fancy thing for display.
With the exception of a missing SATA connection for additional power to the RGB lights on the case itself and needing to tighten the AIO for better contact later on, first boot was a success. The amount of time it took the RAM to do an initialization was surprising. Had I not had the BIOS readout, I may have turned it off thinking something was wrong. It felt like it took about 5 minutes, but in fairness, it could have been 1-3 minutes.
I will also mention these LCD fans are pretty delicate. I overtightened the screws on the rear exhaust LCD fan, and the bearing started to make a funny sound only a couple of months in. Luckily, it was within Amazon’s return policy, so I returned and reordered with a lighter tightening when installing. Maybe worth noting if you plan to install these fans in your next build.
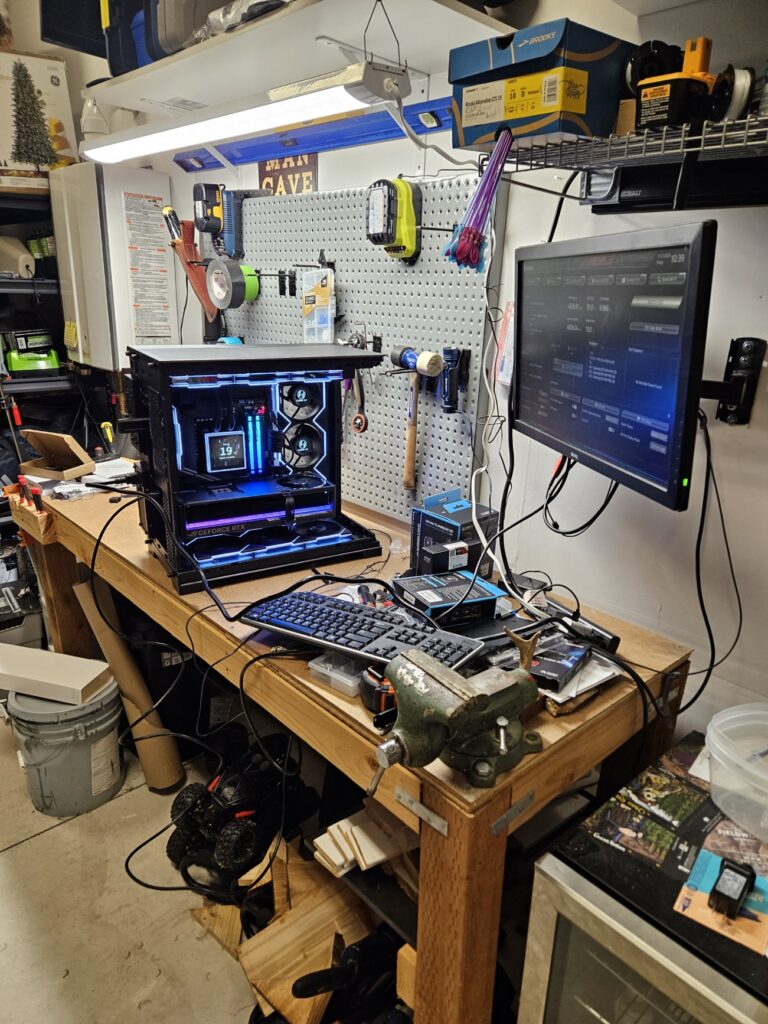
Musings With the Old System
I had decided early on that I didn’t want to resell my system, but use it in a lab environment for new things. Fortunately, my job at Pure Storage provides a robust lab for me to work on infrastructure level items on enterprise grade gear. So I knew that i wanted this system to be more for software and AI/ML than for hypervisors and storage testing. So I started with installing ubuntu server on the system, since its the most familiar linux environment for me. I placed this system hard wired to my networking in the back corner of my office with no monitor. That was my first hiccup because my bios would try to detect a monitor, and if there was no display it would not fully boot. I was able to circumvent that by moving the BIOS setting for CSM from “UEFI” to “Legacy.”
My primary goal was to use Ollama to deploy various AI models locally. I wanted to have the typical “ChatGPT” experience with a local web server to start. I also wanted to have some advanced monitoring to make sure that my fans were keeping my system cool during times of load. As well as make sure that I was fitting the LLM’s into the VRAM i have in my Nvidia 3080ti GPU. The rest of this blog will explain some of the commands i used to get this up and running and what tools i used. It’s not an exaustive list, as i had to bang on a couple items to get them to work. But these should serve as a good guide on getting started if you are interested in running something similiar to what I am doing now.
The first thing i wanted to do was install the nvidia drivers so I could leverage the GPU:
sudo apt update
sudo apt install -y nvidia-driver-580
During install i found i had secure boot enabled which would have requried MOK enrollment, i ended up hauling the pc back out to the garage to connect a monitor and disabled that. Once i booted it backup, i confirmed install by running nvidia-smi. You should see an output of your GPU model and various sensor and performance metrics. Next was installing ollam
curl -fsSL https://ollama.com/install.sh | shVerify install by checking version ollam --version
I also entered a override to simplify the network connectivity. Ollama defaults to 127.0.0.1:11434. Someone else may be able to optimize this better, but i had to make an override to allow containers to easily communicate with ollama. I started with making a file /etc/systemd/system/ollama.service.d/override.conf with the following:
[Service]
Environment="OLLAMA_HOST=0.0.0.0:11434"
# Reload and restart ollama after making the file
sudo systemctl daemon-reload
sudo systemctl restart ollamaFrom here i downloaded a bunch of the most popular models:
# General chat models
ollama pull llama3.2
ollama pull llama3.1
ollama pull gemma2:9b
ollama pull gemma2:2b

# Vision model
ollama pull llama3.2-vision

# Coding models
ollama pull qwen2.5-coder

# Largest model - might override my gpu's vram
ollama pull qwen2.5:14b
you can use ollama list to see all your models
Next, i leveraged docker to create a number of containers to fulfill the following services:
- Open WebUI: This is a open source web front end that gives you the “ChatGPT” style prompting you are use to. Since this is a “server” model, LM Studio wasn’t a big candidate here.
- Prometheus: Gather detail host statics for things like GPU/CPU usage amongst other things
- Grafana: Web front end to have dashboards for the data collected by Prometheus
Open WebUI was fairly simple to configure. I used a Docker bridge network IP to ocnnect to Ollama on my host system:
sudo docker run -d \
  --name open-webui \
  -p 3000:8080 \
  --add-host=host.docker.internal:172.17.0.1 \
  -e OLLAMA_BASE_URL=http://host.docker.internal:11434 \
  -v open-webui:/app/backend/data \
  --restart unless-stopped \
  ghcr.io/open-webui/open-webui:main
The monitoring stack required a little more configuration. You can find how i configured it with a shell script and the configurations of the Prometheus and Grafana configurations on my github repository here: https://github.com/MatthewwVM/dinoai-monitoring
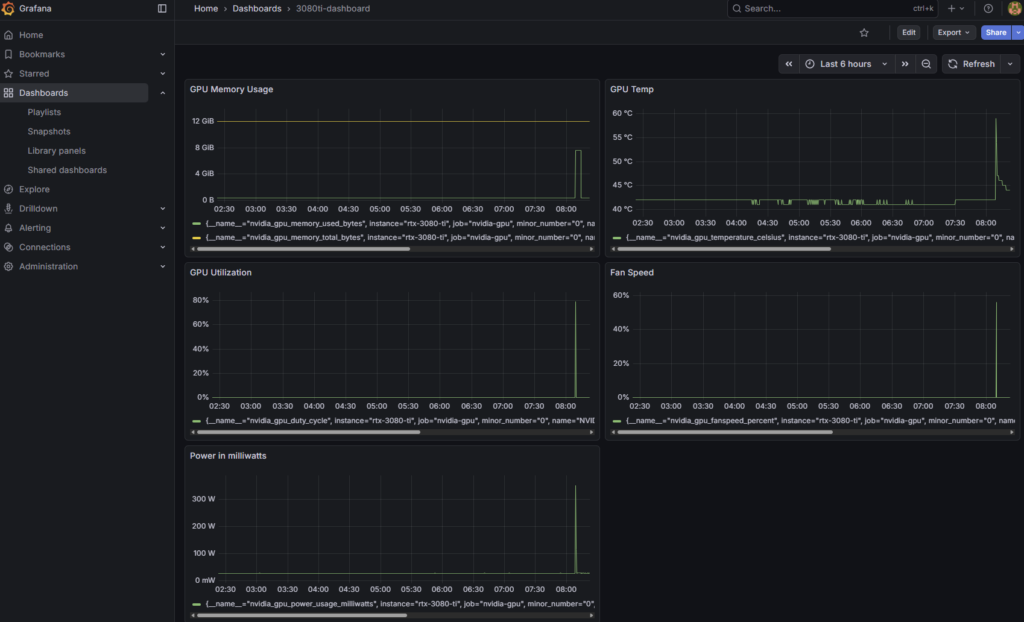
With a working environment, I can access WebUI on port 3000 and grafana on 3001. To give you an idea of the monitoring, I can kick off a prompt that makes the LLM work pretty hard. Let’s look at a prompt like “Write me a 5000 word story about a lego character named dino making his journey into a new technology.” with gemma2:9b.
Then i can hop over to my Grafana interface:
Wrap Up
With all that configured. I know have a local running LLM with host monitoring statistics. Having ran this for a while now and playing with the different models for basic prompting, its really clear to me how much of a difference the “out of the box” LLM’s vs the AI subscription products are. If you are wondering if you should do this with your system, It depends on your goals. If you want to toss your subscriptions to ChatGPT or other models expecting a similar product to save cost, this is not that. But if you are looking to start playing with LLM’s more and want to implement it into tools or applications, this would be a fantastic place to start!
What are you using local LLM’s for? I’m looking for creative suggestions i could possibly implement. Reach out to me on Linkedin!